Looking
behind the (removed) glove compartment. Fan blower on the right.
Big black box in the middle houses the evaporative cooler.
Connector as annotated is the thermister and the amp circuit "in
line" in a small rectangular plastic box.
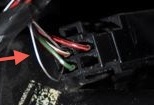
The
red arrow points to the paperclip I installed to bypass the thermister
transistor, which was telling the AC that the evaporator was always
frozen over, preventing the compressor from running.
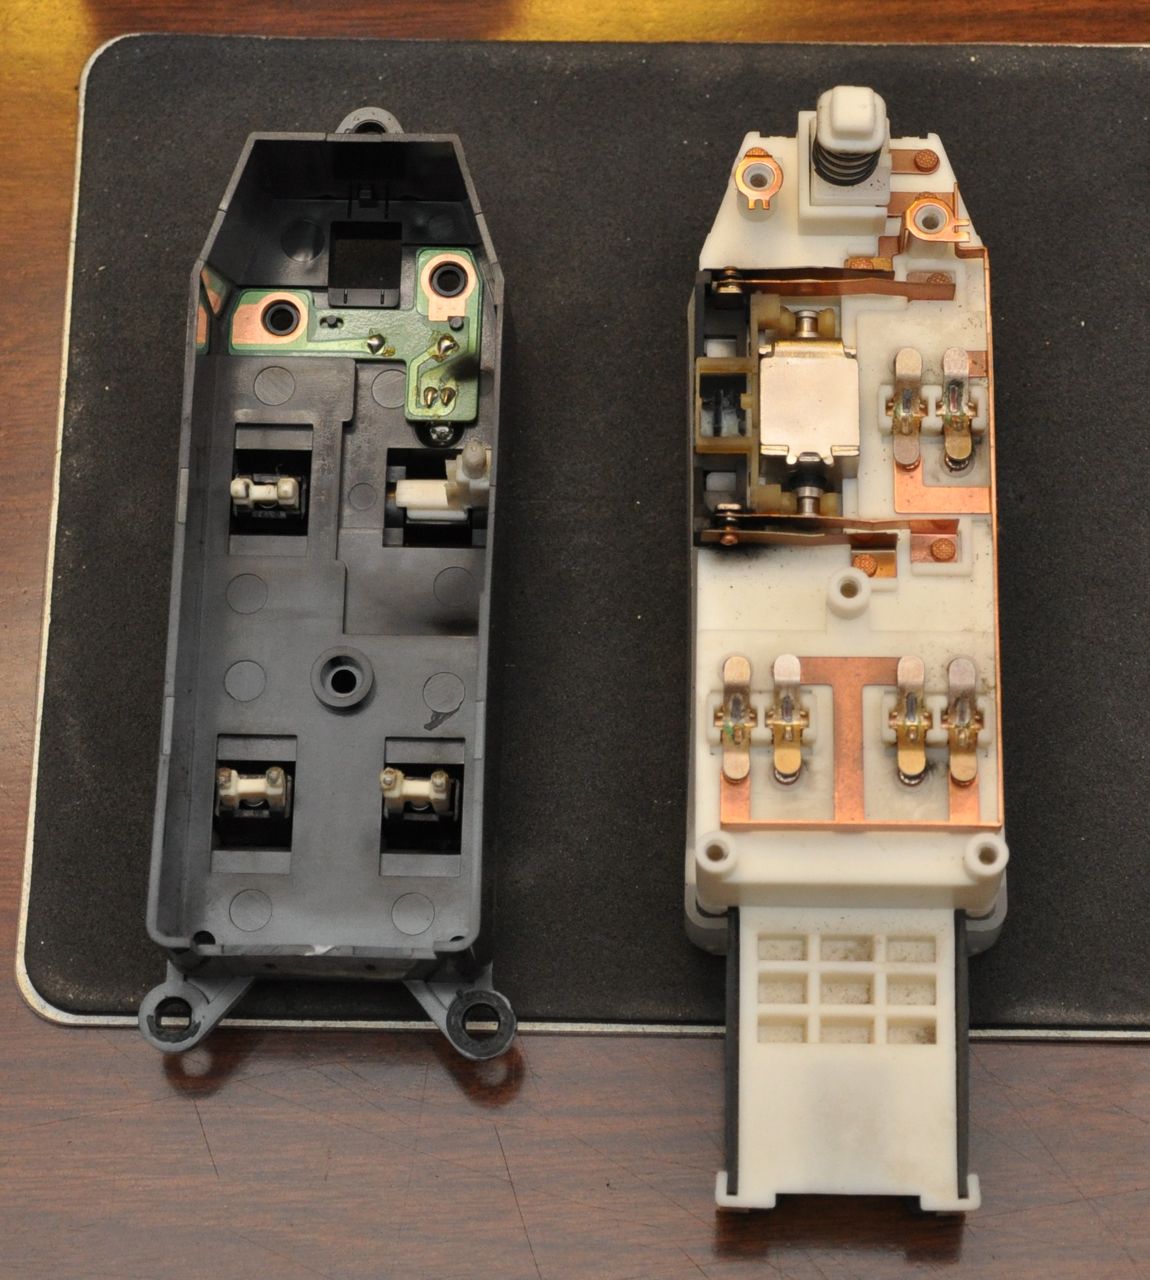
This is the window switch
module. White side is right side up, and the black top cover is
flipped over.

Electrical contacts were fine. The
problem was the two little broken ears shown to the right. You're
looking at the bottom side of the user toggles. The left one is
healthy.
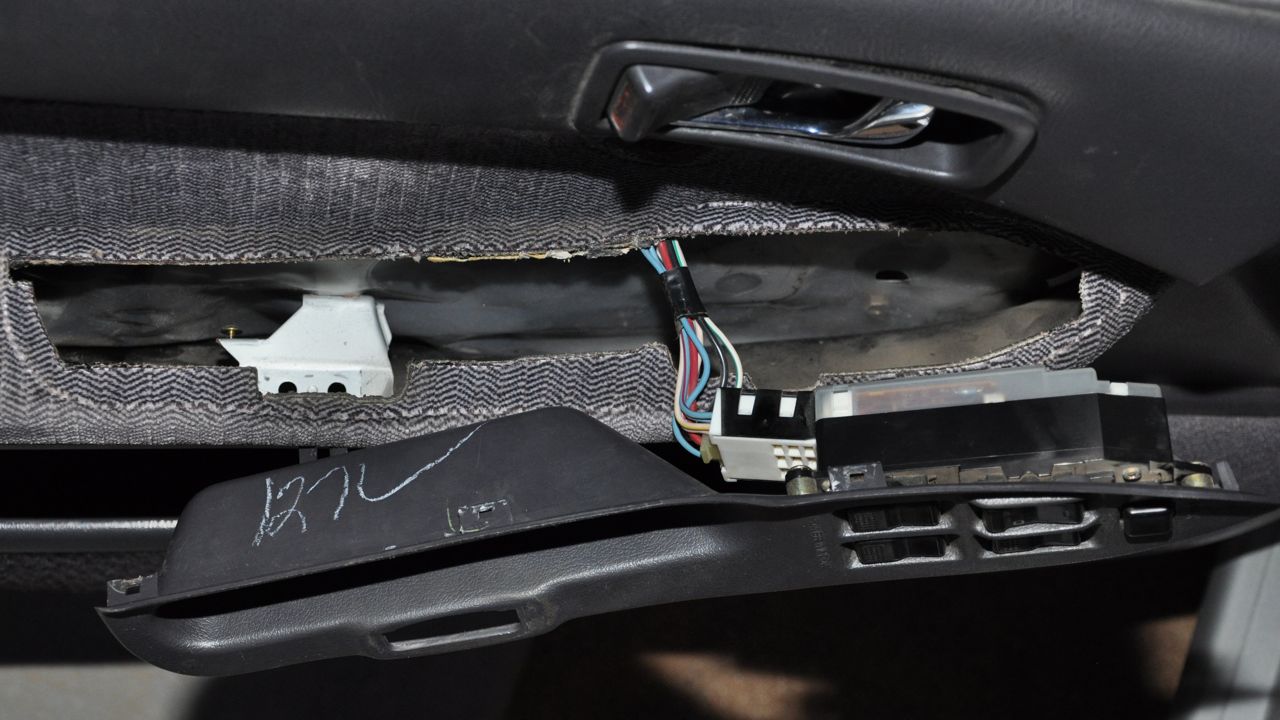
Assembling the electrical switch
assembly back into the door.